Understanding and Fixing Gradle Build Failed Errors in Flutter Projects
Gradle build failures are one of the most common problems Flutter developers face while building Android applications. In this article, we’ll go through the real reasons behind Gradle build failures, how to identify the actual cause, and the practical solutions that help get the project building again without unnecessary trial and error.
Introduction
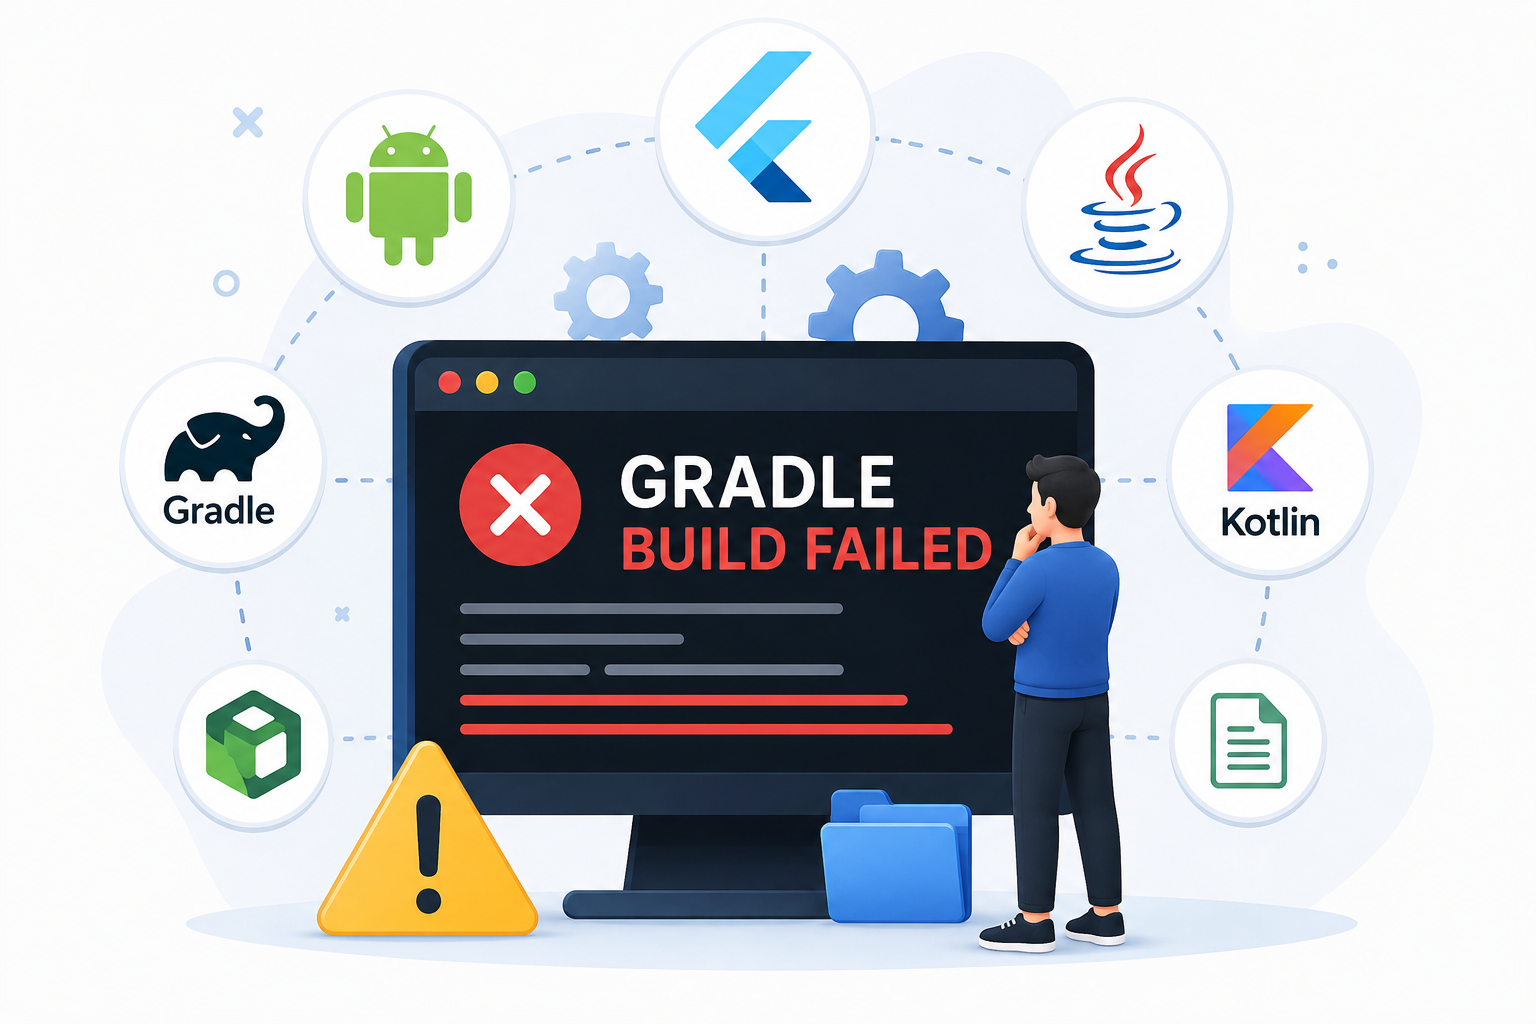
If you’ve been working with Flutter for some time, you’ve probably encountered the dreaded “Gradle Build Failed” error. The message itself is quite generic, but the actual reason behind the failure can be completely different from one project to another. Sometimes the issue appears after upgrading Flutter, while other times it happens after adding a new package, changing Gradle versions, updating Android Studio, or even switching to a different machine.
One thing many developers notice is that the error message displayed in the terminal rarely points directly to the real problem. Gradle simply reports that the build has failed, while the actual issue may be hidden several lines above in the logs. Because of this, many developers start changing random configurations hoping something works, which often creates additional issues instead of solving the original one.
During development, we encountered multiple Gradle build failures across different Flutter projects. Some were caused by SDK version mismatches, others by incompatible plugins, outdated Gradle versions, corrupted caches, incorrect JDK configurations, or Android build settings that no longer matched the latest Flutter requirements. Each issue required a different solution, and understanding the root cause proved much more effective than relying on temporary fixes.
In this article, we’ll look at the most common Gradle build failures in Flutter, understand why they happen, and discuss the approaches that help resolve them efficiently.
Understanding What Gradle Actually Does
Before fixing Gradle errors, it’s useful to understand Gradle’s role in a Flutter project. Flutter handles the application code, but when an Android build starts, Gradle becomes responsible for compiling native Android code, downloading required dependencies, processing plugins, generating resources, and finally creating the APK or AAB.
Since Gradle interacts with many different components including Flutter, the Android SDK, Java, Kotlin, plugins, and third-party libraries, even a small mismatch between these components can stop the entire build process. That’s why two projects using the same Flutter version may still behave differently depending on their Android configuration.
Understanding this build process makes debugging much easier because the Gradle error is often only the final result of another configuration problem somewhere in the project.
Version Compatibility Is Usually the First Thing to Check
One of the most common reasons behind Gradle build failures is version incompatibility. Flutter, Gradle, the Android Gradle Plugin, Kotlin, and the JDK all depend on each other, and updating one without the others can easily break the build.
A project that worked perfectly a few months ago may suddenly stop building after upgrading Flutter because newer Flutter releases often require newer Gradle and Android Gradle Plugin versions. Similarly, installing a newer JDK without updating the Gradle wrapper can also introduce compatibility issues.
Instead of immediately modifying build files, it’s worth checking whether all these tools are compatible with each other. In many cases, simply aligning the supported versions resolves the build failure without requiring any code changes.
Third-Party Packages Can Also Break the Build
Flutter plugins make development much faster, but they also introduce native Android dependencies into the project. Every plugin may require a specific Android SDK version, Gradle version, Kotlin version, or Java version.
Sometimes adding a single package is enough to trigger a Gradle failure because that package depends on newer Android APIs than the project currently supports. In other situations, older plugins become incompatible after upgrading Flutter.
When this happens, the build usually fails long before the application code is compiled. The plugin itself may be generating the error, even though Gradle reports only a generic build failure.
Rather than assuming Gradle is broken, it’s often better to identify which dependency started causing the issue and verify whether it supports the current Flutter and Android environment.
Android SDK Configuration Can Cause Unexpected Errors
Gradle depends heavily on the Android SDK during compilation. If required SDK platforms or build tools are missing, the build process cannot continue successfully.
This often happens after moving a project to another computer or after installing a fresh copy of Android Studio. The project configuration may reference an SDK version that isn’t installed locally, causing Gradle to fail before compilation even begins.
Similarly, changes to compile SDK versions or target SDK versions should always match the SDK components installed on the development machine. Otherwise Gradle reports missing resources, missing platforms, or dependency resolution failures.
Keeping the Android SDK updated and ensuring the project references installed SDK versions helps avoid many build-related problems.
JDK Configuration Is More Important Than Many Developers Realize
Java is another major dependency in the Android build process. Modern Flutter projects generally expect newer Java versions, while older projects were created using earlier JDK releases.
If Gradle is configured for one Java version but the system is using another, the build may fail with errors related to unsupported class versions, incompatible bytecode, or missing Java modules.
These problems are especially common after updating Android Studio because the IDE may start using a different JDK than the one configured previously.
Instead of reinstalling Flutter or Gradle, checking which Java version Gradle is actually using often leads directly to the solution.
Cache Problems Can Produce Misleading Errors
Not every Gradle failure is caused by project configuration. Sometimes the build cache itself becomes corrupted.
Gradle stores downloaded dependencies, compiled artifacts, and temporary build outputs to improve build performance. While this makes repeated builds much faster, corrupted cache files can produce errors that seem unrelated to the actual project.
Cleaning the project, removing temporary build folders, and allowing Gradle to download fresh dependencies often resolves these issues without requiring any configuration changes.
Although cache problems aren’t the most common cause of build failures, they’re simple to eliminate during debugging and can save significant troubleshooting time.
Reading the Error Log Saves More Time Than Guessing
One mistake many developers make is focusing only on the final line that says **”Gradle Build Failed.”** That message only indicates the build stopped—it doesn’t explain why.
The actual error is usually located earlier in the console output, sometimes several hundred lines above the final failure message. Missing SDK components, dependency conflicts, unsupported plugins, Kotlin compilation errors, Java incompatibilities, or Android manifest problems all appear before Gradle eventually reports the build failure.
Taking a few minutes to carefully read the first meaningful error usually provides much more useful information than repeatedly changing project settings at random.
Over time, recognizing these error patterns becomes one of the most valuable debugging skills for Flutter developers.
Keeping the Build Environment Consistent
Projects that are shared across teams often build successfully on one developer’s machine but fail on another. In most cases, the application code isn’t the problem—the development environments are different.
Using consistent Flutter versions, Android SDK versions, Gradle configurations, Java versions, and plugin versions across the team helps reduce these inconsistencies significantly.
Version management becomes even more important as Flutter projects grow larger and integrate more native Android functionality.
Maintaining a stable build environment makes future upgrades easier and minimizes unexpected Gradle failures during development.
Conclusion
Gradle build failures are a normal part of Android development, especially in Flutter projects where multiple tools and technologies work together during the build process. Although the error message often looks intimidating, the underlying issue is usually related to configuration, dependency compatibility, SDK setup, plugin integration, or Java environment mismatches rather than Gradle itself.
The most effective way to resolve these problems is to identify the actual source of the error instead of trying random fixes. Carefully reading the build logs, verifying version compatibility, checking SDK and JDK configurations, and understanding how Flutter integrates with Android’s native build system can significantly reduce debugging time.
As Flutter continues to evolve, Gradle, Android Studio, and plugin requirements will also continue to change. Keeping the development environment updated while maintaining compatibility between all build components helps ensure that Flutter projects remain stable, easier to maintain, and ready for future upgrades.